
Happy Tuesday!
Here's how to make a pretty dress card like the one at the Homespun fair.

You will need:

- Fabric scraps in colours that match.
- Needle and thread.
- Fabric glue.
- Scissors.
- A blank card and envelope.
Step 1.
- Draw a dress top shape on to the back of one of your scraps.
- Cut this shape out.

- Cut your other fabric scrap in to a rectangle skirt shape that's slightly bigger at the bottom.
- Keep any bits you cut off as you'll need them later on.

Step 2.
- Thread up your needle and go in and out with a running stitch along the top of the skirt shape.
- Pull the thread so that the skirt gathers up at the top.

- Check the width of the gather is the same as the bottom edge of your dress top.
- Tie a knot in your thread, trapping the gather at the length you want it.

- Squash the skirt flat with your fingers so that you can see pleats in the skirt.

Step 3.
- Place the skirt where you want it on the card.
- Put a little glue underneath it and hold it until you're sure it's stuck.

- Position the top of the dress overlapping the skirt gathers to hide the rough edge.
- Glue it in to place with some small dots of glue, hold it still until it's stuck.

Step 4.
- Get the bits of skirt you cut off earlier, fold one of the bits in to three lengthways along the creases shown in the picture below.

- Dot a little glue along the edge and hold the folded fabric until it's stuck.
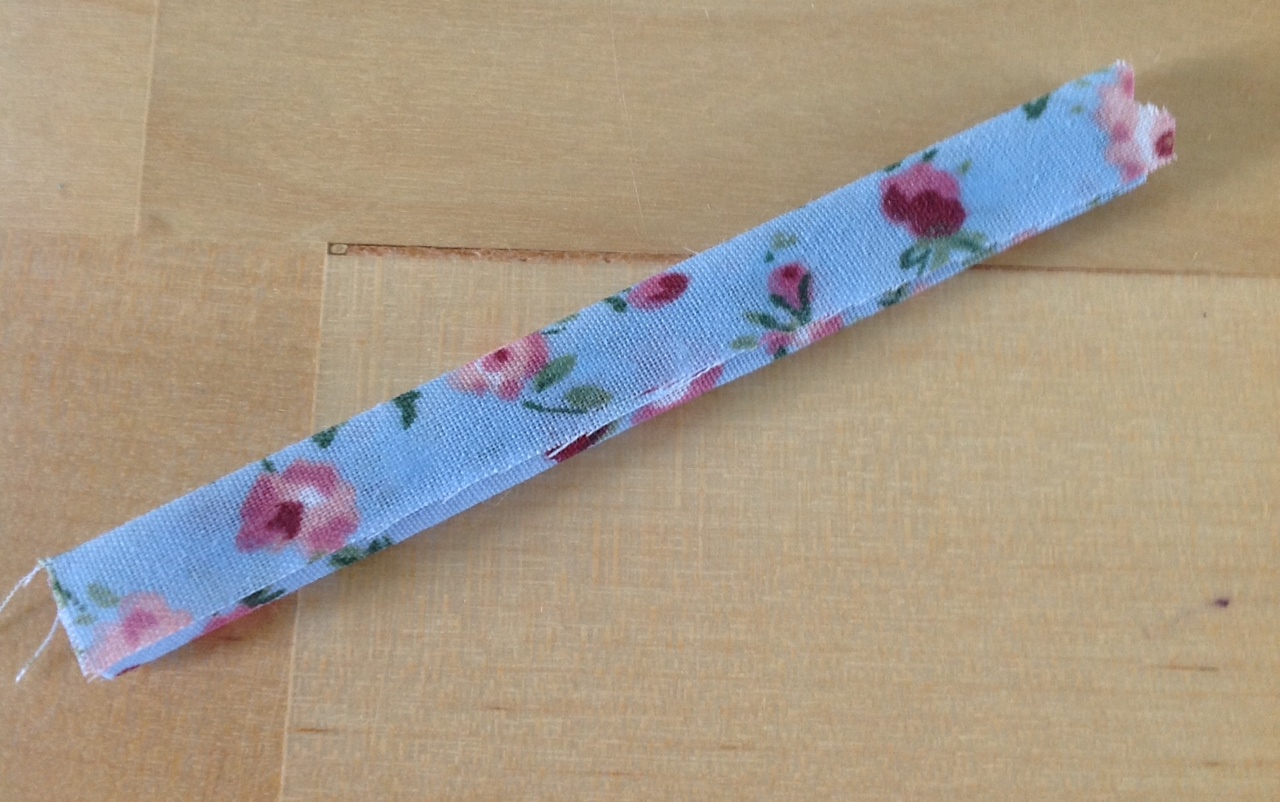
- Fold the two ends in to the middle and sew a few stitches to hold them still. This makes the bow of the dress.

- Tie another little scrap of fabric around the bow to pinch it in the middle, making it look more bow-like.

- Stick the bow on to the dress using your glue.
See you soon!
Holly.
No comments:
Post a Comment