
Hello again!
Here's the second part of Red Red Robin.
Step 6.
Sew one of the red breast pieces on to the body piece using over stitch like this:

Sew the second one on the other way round so they look like this:

Put the two layers on top of each other red breast parts facing out and pin them together. Sew up the bottom of the robin using overstitch.

Step 7.
Sew around up to the back of the head of the robin with over stitch. If you want to stuff him, poke the stuffing in now with a pencil.

Pop the beak in between the two body layers and continue sewing around making sure you go through the beak.

Step 8.
Place one of the wings where you want it to go and poke the needle through it and through the robin right to the other side. Put the other wing on the needle and sew through the body a few times to hold the wings on. Do the same for the beads for eyes too.

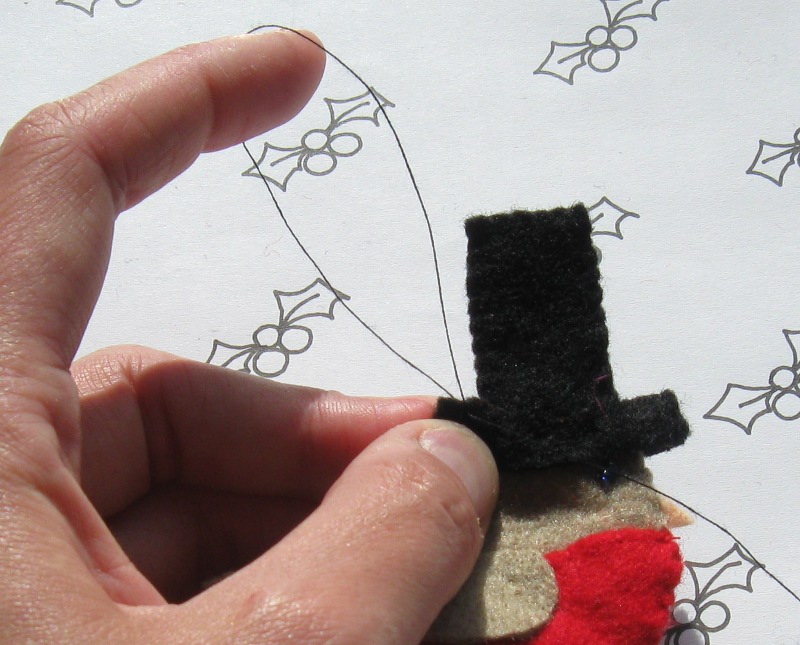
Step 9.
Put the two top hat shapes together and sew around the edges, leave the bottom open so that it can go on the robin's head. Put a few stitches through the hat and robin's head to hold it on. Very smart!

Step 10.
Sew a loop of black cotton to the back edge of the robin's hat so that you can hang him from your tree!
All done! Woo! Is it nearly time to put the tree up? Tweet tweet!

Happy sewing!
No comments:
Post a Comment